Text-based editing in DaVinci Resolve
A transcript is a fast map of spoken material. It is not the edit itself. The useful workflow moves from words to a protected timeline, then checks every join where text hides picture, sound, or performance.
Short answer
Short answer
Text-based editing in DaVinci Resolve Studio links transcript text to time ranges in source clips or an existing timeline. Transcribe the relevant Media Pool clips, enable and correct speaker detection when useful, then select words to mark ranges, assemble material, or cut, copy, paste, and delete sections in Timeline Transcription mode. Work on a duplicate or new assembly timeline, preserve the original, and review every text-driven change in picture and sound. The transcript can find language and mirror supported edits, but it cannot judge the best performance, a useful pause, reaction shots, continuity, or whether an audio join sounds natural.
Choose source transcription or timeline transcription
Start by deciding whether you are finding material or revising an edit. Source transcription is for locating phrases inside Media Pool clips and turning those ranges into selects. Timeline Transcription mode represents the clips already used in a timeline and can mirror text operations back to that edit. Using the wrong mode is how a search for one sentence becomes an unintended change to the master timeline.
| Job | Work from | Useful result | Main risk |
|---|---|---|---|
| Find selects | Transcribed source clips in the Media Pool | Marked ranges inserted or appended to a new assembly timeline | Reading one take in isolation can hide the stronger delivery or reaction |
| Revise an assembly | Timeline Transcription mode on a protected working timeline | Text selections mapped to cut, copy, paste, and delete operations | A clean paragraph can create bad picture and sound joins |
| Find a known line | Transcript search in the intended clips or timeline | A precise phrase range ready to audition | The words match but the speaker, take, or surrounding context is wrong |
| Prepare subtitles | A reviewed transcript or subtitle workflow | Timed cues for reading and delivery | Transcript segmentation is mistaken for finished caption segmentation |
Blackmagic Design documents text-based editing as a DaVinci Resolve Studio feature on its current product page. DaVinci Resolve Free remains a full editor, but this native transcription-driven edit path requires Studio. Do not promise the workflow until you have confirmed the installed edition and version.
Prepare a transcript that matches the footage
Protect the edit before transcription work. Duplicate the current timeline if you will revise it, or create an empty selects timeline if you are building from source. Record the project, timeline, frame rate, source bins, dialogue language, allowed tracks, and output name. A transcript from yesterday's proxy, old sync map, or earlier assembly can point to plausible words at the wrong media range.
- Select the exact source clips in the Media Pool and run Audio Transcription on those clips.
- Enable Speaker Detection before transcription when speaker identity will help the selection.
- Open the Transcription window and rename detected speakers from generic labels to verified names.
- Correct misattributed passages before using speaker filters or building a speaker-led assembly.
- Mark uncertain names, numbers, and terms; transcription accuracy is not factual approval.
The DaVinci Resolve 19 New Features Guide says speaker detection is project-specific, remembers voice signatures across later transcriptions, and allows detected passages to be reassigned. That persistence is useful inside one program. Reset or verify speaker data when a project contains unrelated productions, unreliable assignments, or recycled media.
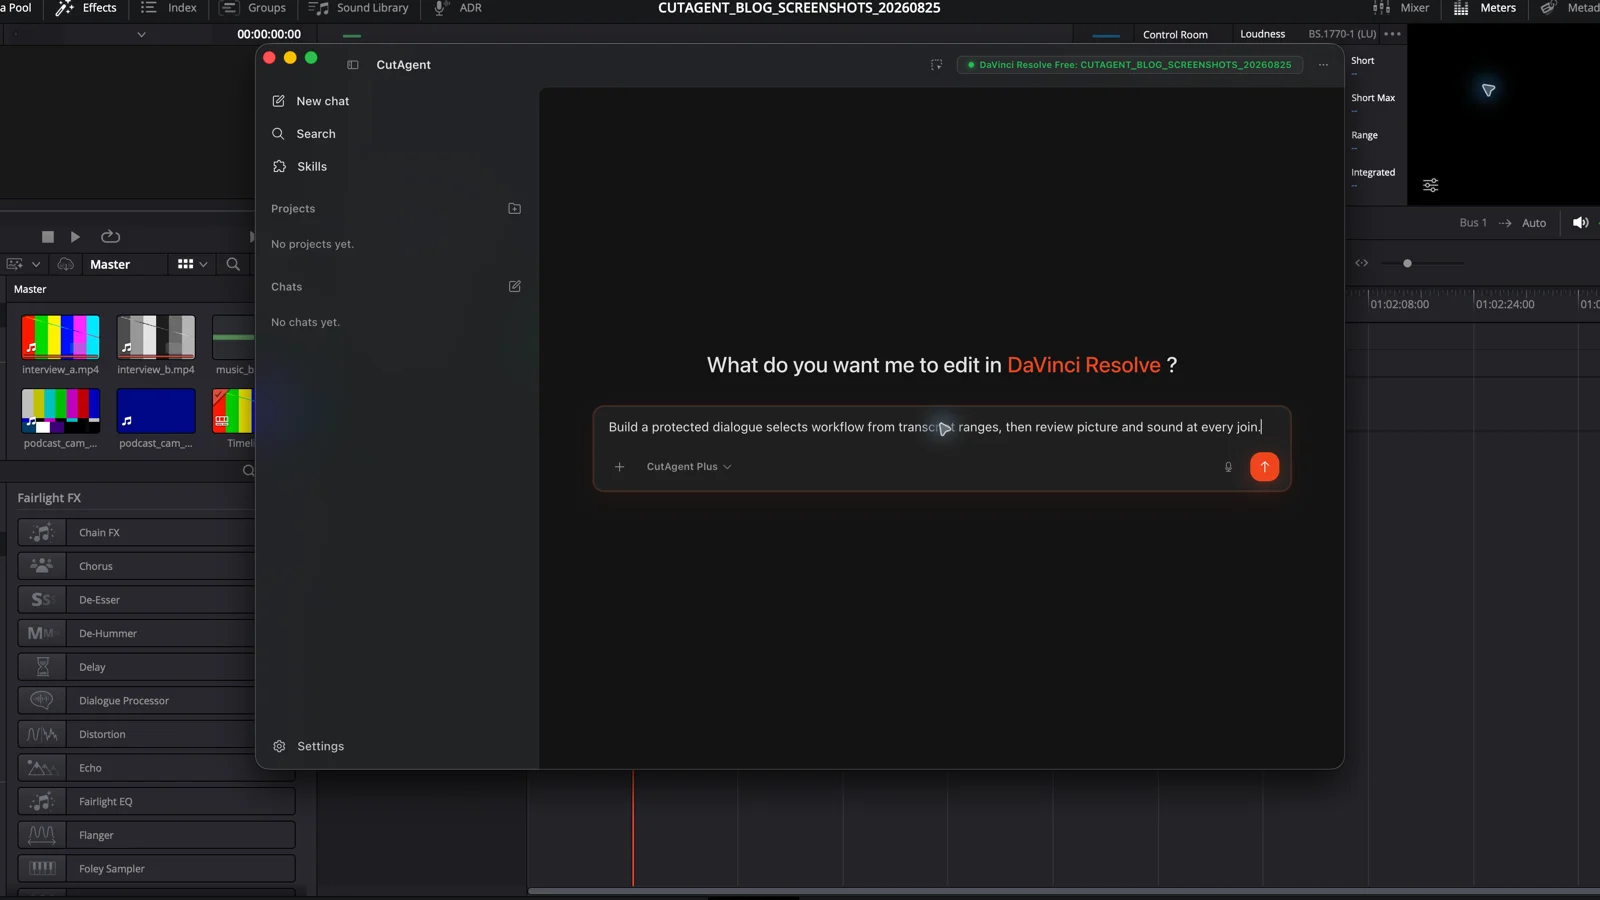
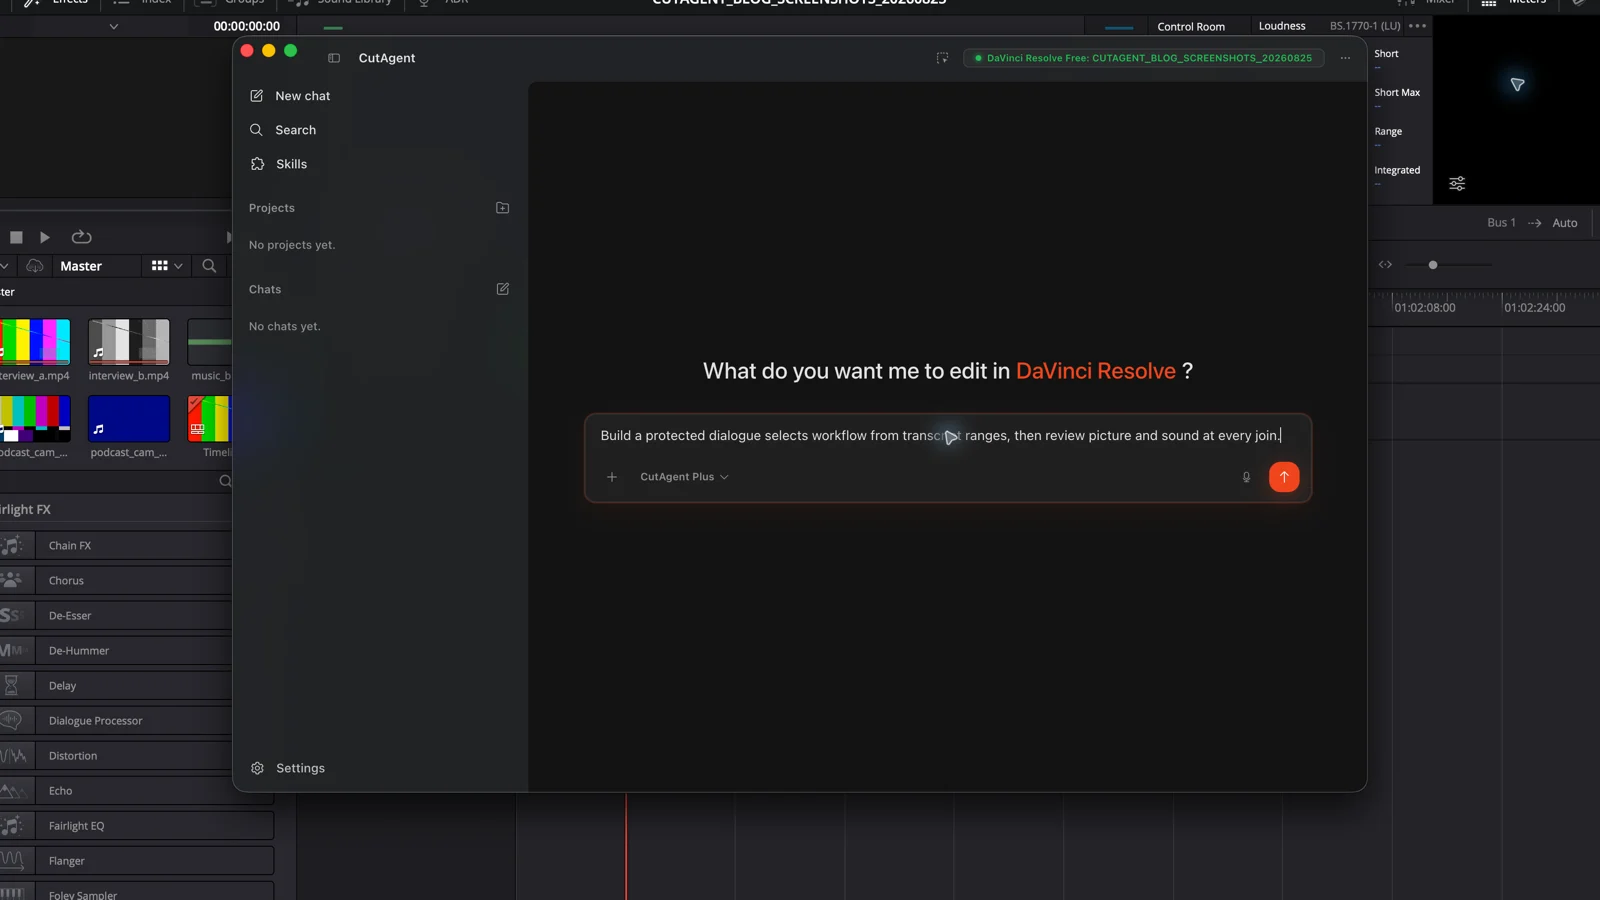
Build a dialogue selects timeline named Interview selects v01 from the transcribed clips in bin Day 02. Use only verified passages from Maya and Luis about the product recall. Preserve full sentences plus one beat of context before and after each selection. Do not change Interview master v08. Flag uncertain names, numbers, speaker assignments, and overlapping speech with source clip name and timecode. Report the selected passages in source order before assembling them.
Build a selects timeline before shaping the story
Use source transcript text to find candidate ranges, then audition them before insertion. Keep enough context to hear the run-in, breath, and end of the thought. A keyword hit is a search result, not a usable edit. The same sentence can have a clean reading, a stronger performance, or a better reaction in another take.
| Boundary | Listen and look for | Why the words alone are insufficient |
|---|---|---|
| Before the first word | Breath, room tone, question tail, gesture, and usable incoming frame | The transcript begins at recognized speech, not necessarily at the right edit point |
| Inside the selection | False starts, overlapping speech, factual accuracy, performance, and camera continuity | Correct text can describe a weak or visually broken take |
| After the last word | Word ending, breath, reaction, room tone, and outgoing movement | Cutting at the text boundary can clip a consonant or erase the response |
Assemble selections in source order first when the story order is still undecided. That creates a transparent stringout instead of hiding editorial choices inside the search pass. Duplicate that selects timeline before rearranging themes, compressing answers, or removing repetition.
Use Timeline Transcription mode for bounded revisions
Timeline Transcription mode is the higher-consequence path because text operations can change the existing sequence. Blackmagic Design documents that the underlying Media Pool clips must be transcribed first. Click the Timeline mode control in the Transcription window, select a passage, and confirm that the corresponding In and Out range appears on the working timeline before cutting, copying, pasting, or deleting.
- Duplicate and rename the timeline; keep the approved or current master untouched.
- Confirm that linked video and audio, track selectors, locks, and trim or ripple mode match the intended operation.
- Select one sentence or bounded passage in the transcript and verify the highlighted timeline range.
- Make one edit, then inspect the resulting clip boundaries and downstream sync before continuing.
- Batch only repeated changes that share the same safe rule and review method.
DaVinci Resolve 19 added text editing that honors the active trim and ripple modes. That makes the timeline controls part of the brief, not background UI. A delete can leave a gap or close it; a paste can shift later material; a track selector can send material somewhere unexpected. Inspect those states at action time.
Use transcript ranges to place a cutaway, then check the frame
The Transcription window can also place a selected source range on a higher track. Blackmagic Design describes Place on Top as a way to add cutaways or reaction shots while keeping them aligned with the master shot. It is useful when the spoken passage identifies the right duration, but it still needs a picture decision: the cutaway must begin and end on usable frames and must not cover a performance beat the editor wants to keep.
| Check | Pass condition | Typical repair |
|---|---|---|
| Target track | The inserted range lands on the intended empty or selected upper video track | Undo, set the correct destination, and insert again |
| Sync | The underlying dialogue and linked audio remain unchanged and synchronized | Remove unintended audio or restore the protected assembly |
| Incoming frame | The first visible frame has a usable composition and movement phase | Trim the cutaway without changing the dialogue selection |
| Outgoing frame | The return to the master shot does not jump across a gesture or expression | Extend, shorten, or choose a different reaction |
Review the edit in four separate passes
A transcript review catches language. It cannot finish the sequence. Watch every text-driven edit at normal speed, then inspect difficult joins more closely. Separate the passes so a spelling correction does not distract you from a clipped breath or an eyeline jump.
| Pass | Inspect | Reject the edit when |
|---|---|---|
| Meaning | Factual text, speaker, context, negation, numbers, names, and sentence order | The words are accurate but their new order changes the claim or intent |
| Sound | Consonants, breaths, room tone, overlaps, level changes, and linked audio sync | A join clips speech, pumps ambience, or moves audio away from picture |
| Picture | Eyeline, head position, gesture, continuity, cutaway frames, and reactions | The transcript edit produces a visible jump without an intentional cover |
| Timeline | Track placement, gaps, ripple effects, markers, captions, music, graphics, and total duration | A local sentence change shifts or breaks downstream work |
For a long dialogue edit, place review markers on every unresolved factual claim, awkward join, missing reaction, and selection that needs client approval. The review-marker workflow gives those questions a durable location instead of leaving them in a separate transcript document.
Lock the transcript-driven assembly only after the four passes agree. Then move to pacing, B-roll, music, captions, and polish. The useful next action is to play the densest two minutes without looking at the transcript; if the sequence only works while you read it, the timeline still needs an editor.
Sources and further reading
- DaVinci Resolve 19 New Features Guide: text-based editing in the Transcription window - Blackmagic Design. Accessed August 25, 2026.
- DaVinci Resolve 21 New Features Guide: transcript search and current Edit features - Blackmagic Design. Accessed August 25, 2026.
- DaVinci Resolve product and edition overview - Blackmagic Design. Accessed August 25, 2026.
- DaVinci Resolve Edit page - Blackmagic Design. Accessed August 25, 2026.