Turn DaVinci Resolve markers into a review queue
A marker is useful only when another editor can tell what it means, where it applies, and how to close it. Build a small marker contract before importing a long notes list, then verify the first few entries against picture and timecode.
Short answer
Short answer
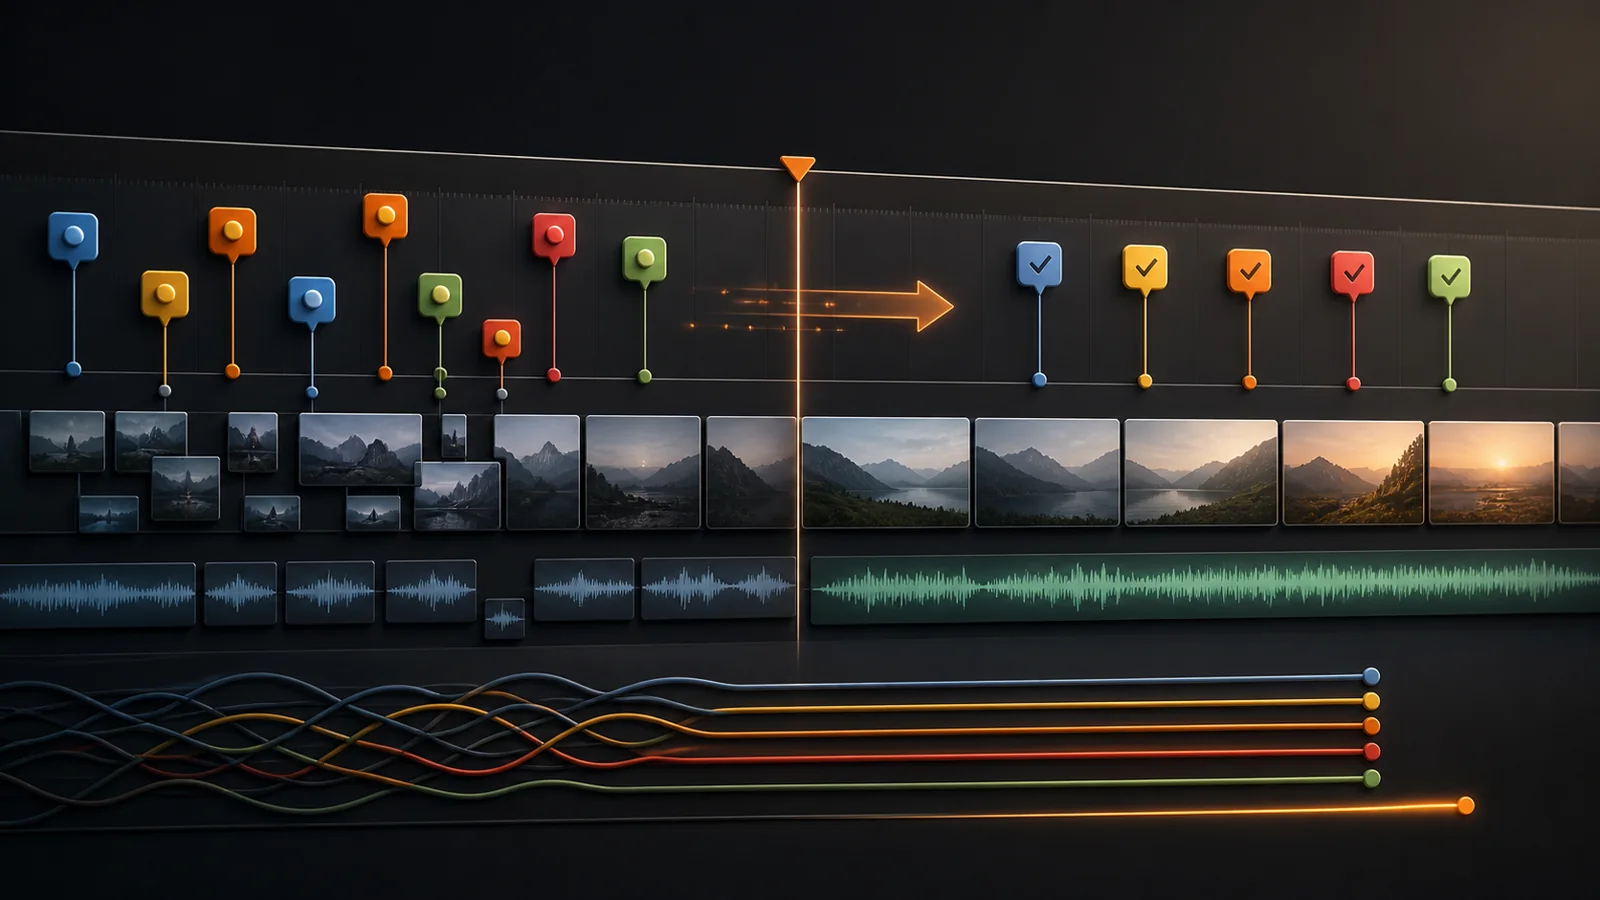
Use DaVinci Resolve timeline markers as a review queue by defining what each supported color means and writing one action per marker. Keep notes that belong to a timeline clip instance or source media out of that queue: they use separate marker scopes and must be inspected separately. Give range-based problems a duration, preserve the original client wording in the note, and test a small timeline-marker batch against picture and timecode before adding the full list. A marker is complete only when the edit is checked and the marker is removed or deliberately retained as a record.
Choose the marker scope before the color
The first decision is whether the note belongs in the timeline-marker queue at all. A timeline marker belongs to a record position. A timeline-clip marker is attached to one edited item. A source-media marker is attached to the Media Pool item behind the footage. CutAgent treats these as separate marker surfaces, so one queue count cannot prove that all three scopes were reviewed.
| Use this scope | When the note means | Example |
|---|---|---|
| Timeline marker | The program needs something at this record position | Add the legal card before the first product claim |
| Timeline-clip marker | This edited item needs a note that stays with that occurrence | Reframe this close-up, but leave the repeated shot alone |
| Source-media marker | The underlying Media Pool item has a reusable fact or problem | Boom enters frame from 00:14:08 to 00:14:19 |
Blackmagic Design distinguishes markers from flags: a marker identifies a frame or time range, while a flag identifies an entire clip and its source media. Use a flag when the whole source needs classification; use a marker when the note needs a precise location.
Write one action and one acceptance check
Keep the title short enough to scan in the Markers Index. Put the requested action first, then preserve the reviewer's wording and any delivery context in the note. Do not compress two unrelated fixes into one marker just because they share a timecode.
| Field | Write | Avoid |
|---|---|---|
| Title | Verb plus object: Shorten pause | Vague status: Fix this |
| Note | Original feedback, intended result, and constraint | A rewritten summary that drops the client's meaning |
| Duration | The complete problem range | A one-frame marker for a six-second issue |
| Acceptance | What you will inspect after the change | Done because the command returned success |
Use colors for work states, not decoration
DaVinci Resolve markers support colors, titles, descriptions, keywords, and durations. That flexibility helps only when the team agrees on a small vocabulary. Five colors with written definitions are easier to operate than sixteen colors whose meanings live in one editor's memory.
| Color | Meaning | Close when |
|---|---|---|
| Red | Blocked or factually unsafe | The blocker is resolved and the result is rechecked |
| Purple | Editorial decision needed | An editor approves the choice |
| Yellow | Concrete edit task | The visible or audible change passes review |
| Blue | Information or reference | The note is no longer needed, or stays intentionally |
| Green | Checked | Use only if your team retains completed markers |
Choose either deletion or a checked color as the completion rule. Using both without a policy makes the remaining count meaningless. For a short solo edit, deleting resolved markers keeps the queue honest. For a supervised finish, retaining green markers can preserve an approval trail, but only if someone clears them before final delivery.
Convert notes in a canary batch
A spreadsheet with fifty timecodes is not ready for blind import. First confirm the timeline start timecode, frame rate, whether each note is absolute or relative, and whether the reviewer watched the same cut. Then create three markers: one near the start, one across an edit point, and one near the end.
Inspect the active timeline without changing it. Compare these review notes with the timeline start timecode and frame rate. Report duplicates, out-of-range notes, ambiguous scope, and notes that describe a range but have no end time. Keep timeline-clip and source-media notes out of the timeline-marker batch and list them separately. Propose three timeline-marker canaries using Yellow for concrete edit tasks and Purple for decisions. Preserve the original note text. Wait for approval before adding markers.
In CutAgent, the editor gives that brief in the desktop app. The agent inspects the active timeline, prepares supported local marker actions, and leaves the result for review in DaVinci Resolve. This follows CutAgent's public workflow: describe the edit, let the agent inspect and plan, then review the timeline result.
- Open each timeline-marker canary from the Markers Index and confirm its title, note, color, and duration.
- Park the playhead on the first frame and confirm that picture and audio match the review note.
- Check the marker that crosses an edit point; split it if the two shots need different owners or fixes.
- Confirm the end-of-timeline note has not shifted because of a start-timecode or frame-rate mismatch.
- Only then expand the same conversion rules to the remaining notes.
Work the queue without losing editorial context
Blackmagic Design's Editor's Guide shows that the Markers panel in the Edit Index lists timeline markers and can filter the information shown. Use that index for the timeline-marker queue only. Timeline-clip and source-media markers need their own inspection and must not be counted as completed because the timeline queue is empty. Filter one timeline-marker category, solve related work together, and reopen the surrounding sequence before accepting each change.
- Clear blockers before polish. A factual or legal issue outranks a transition adjustment.
- Group by task only when context survives. Audio cleanup can be batched; story notes often need the full scene.
- Inspect a few seconds before and after every change. A clean frame at the marker can still create a bad entrance or exit.
- Recount the queue after each pass. New markers must have an owner and a reason, not become permanent background noise.
Finish with an empty or explained queue
Before export, every remaining timeline marker should be explainable. Red and purple markers need an explicit owner or approval. Yellow markers mean work remains. Blue reference markers may stay only when they help the next department. Green markers stay only when the delivery contract calls for an approval record. Review any timeline-clip and source-media marker lists separately before calling the queue complete.
If you want help converting a long review list, give CutAgent the notes, timeline identity, frame-rate context, and your marker vocabulary. Ask for a small preview first. Then inspect the canary markers in DaVinci Resolve before approving the full queue. For other safe handoff patterns, read the DaVinci Resolve automation guide and the caption workflow guide.
Sources and further reading
- DaVinci Resolve Edit — Markers and Annotations - Blackmagic Design. Accessed August 22, 2026.
- The Editor's Guide to DaVinci Resolve 20 - Blackmagic Design. Accessed August 22, 2026.
- The Colorist Guide to DaVinci Resolve 20 - Blackmagic Design. Accessed August 22, 2026.
- CutAgent product overview - CutAgent. Accessed August 22, 2026.