How to edit to the beat in DaVinci Resolve without cutting every beat
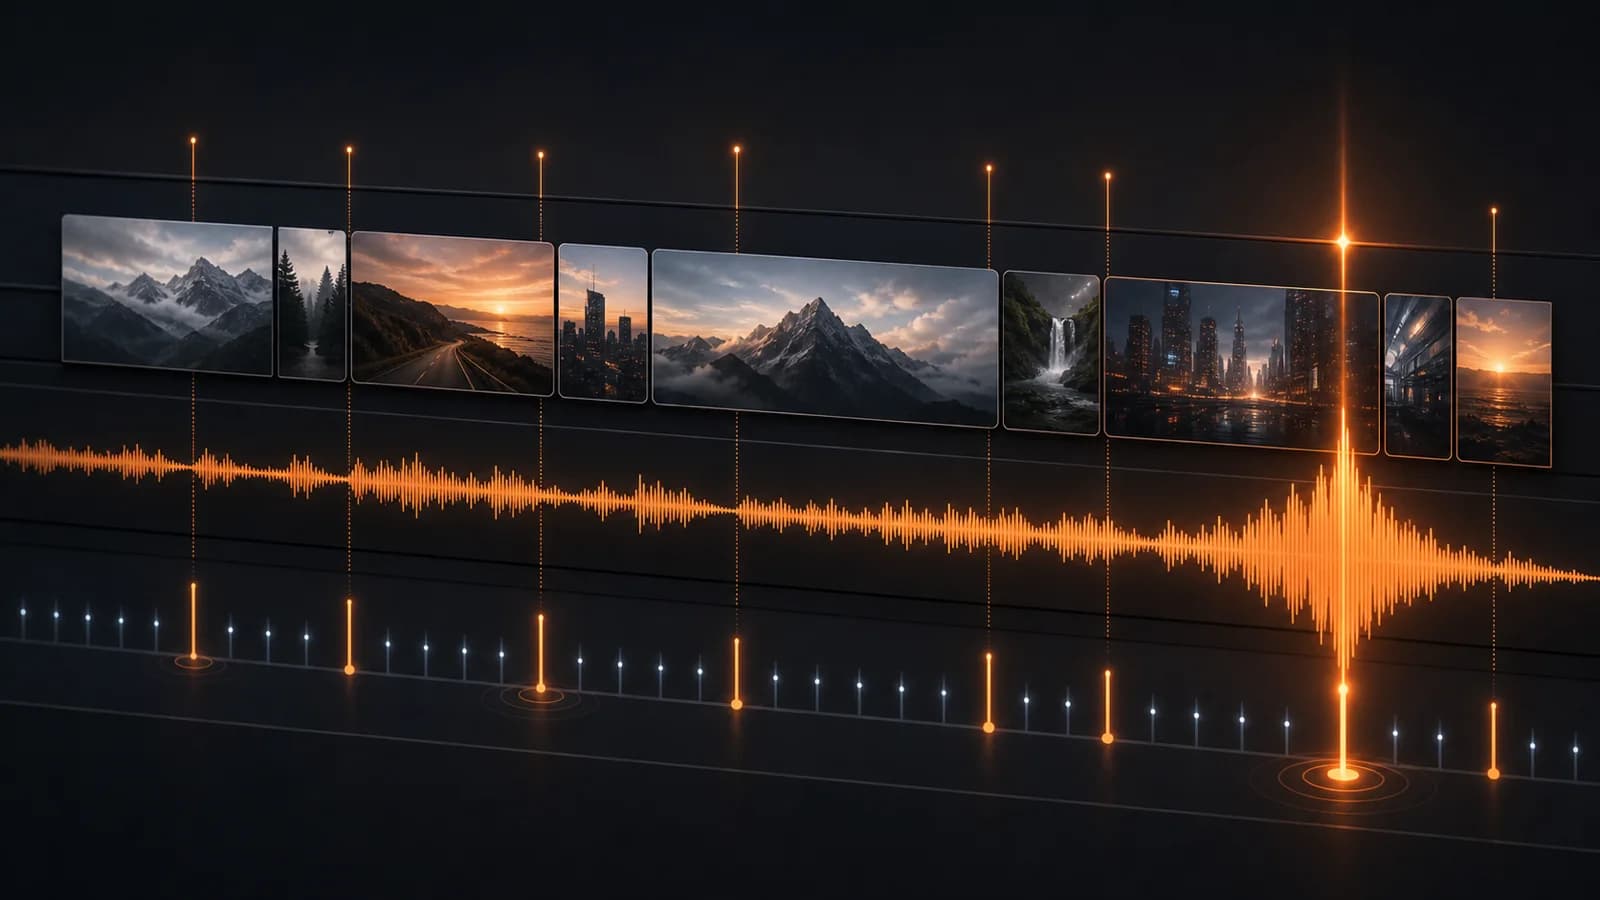
Beat markers are a map, not an edit decision. Give the biggest visual changes to the strongest musical events, let weaker beats support movement inside the shot, and protect anything the viewer needs time to understand.
Short answer
Short answer
In DaVinci Resolve Studio 20, select the music clip and run Detect Music Beats to add beat indicators. In DaVinci Resolve Free, play the track and press M to place markers at verified musical points. Then rank section changes, phrase starts, downbeats, strong transients, pauses, and the final accent. Put major scene changes and reveals on the strongest events, use ordinary downbeats for selected cuts, and let weaker beats support motion inside a shot. The result should follow the music's changing energy, not cut at one fixed interval.
Build a rhythm map before moving picture
Start with the complete music range. Listen for the intro, phrases, build, drop, breakdown, pauses, and ending before deciding where a single shot should change. A row of beat markers identifies timing; it does not tell you which moments deserve editorial weight.
Blackmagic Design introduced Detect Music Beats in DaVinci Resolve Studio 20. The command is available from a timeline audio clip and displays detected beat indicators for editing. In DaVinci Resolve Free, or when automatic detection does not fit the track, listen to the music and place markers on the musical points you have verified.
Give each musical point a different visual job
A useful beat map has hierarchy. If every marker causes the same kind of cut, the drop has nowhere to go and the sequence becomes predictable. Reserve the biggest picture changes for the music's biggest structural changes.
| Musical point | Good visual job | Common mistake |
|---|---|---|
| New section or drop | Change scene, subject, scale, or visual idea; land the strongest reveal | Spending it on an ordinary angle change |
| Phrase start | Introduce a new shot, action, or graphic thought | Treating it like an isolated beat |
| Downbeat | Place a selected cut or clear action accent | Cutting every downbeat for the whole sequence |
| Strong transient | Land contact, a gesture, light change, detail, or graphic | Starting all movement at the marker |
| Weak beat | Support motion or change within the current shot | Adding a transition because a marker exists |
| Pause or final accent | Hold, reveal text, cut to black, or resolve on the final image | Filling the silence with another effect |
Let motion begin before the marker when its impact, reveal, or completion should land on the beat. A hand can enter frame early and finish the gesture on the downbeat. That usually feels more connected than starting both the shot and the movement on exactly the same frame.
Shape a pacing curve instead of using one interval
Shot density should follow the music's energy. Hold through a quiet intro, shorten selected shots during a build, make the drop visually decisive, and relax again during a breakdown or outro. Variation makes the fast section feel fast; a constant one-beat pattern removes that contrast.
| Music region | Starting approach | Review question |
|---|---|---|
| Quiet intro | Hold for several bars when the shot supports it | Can the viewer enter the scene before the pace rises? |
| Verse or calm section | Use phrase starts and selected downbeats | Does each shot have enough time to communicate? |
| Build | Shorten shots progressively or intensify internal movement | Is tension increasing without becoming repetitive? |
| Drop or major entrance | Use the strongest available image or reveal | Did the visual change earn the musical event? |
| Breakdown or outro | Reduce cutting and create closure | Does the ending work in both picture and music? |
Treat these as starting points, not quotas. A product feature, title, facial reaction, or complex action may need to cross several beats. Keep it on screen long enough to read, then use the nearest suitable musical point for the next change.
Protect dialogue, action, and readable information
Music should shape the edit without breaking its meaning. Preserve sentence rhythm, sync, reactions, screen direction, titles, and product demonstrations. When dialogue leads, use musical points mainly for B-roll, camera changes, graphics, and visual accents around the spoken line.
- Keep the source timeline untouched and make the beat edit on a duplicate.
- Identify locked tracks, linked audio, fixed clip order, titles, and protected story moments before trimming.
- Reject a beat-aligned cut when the source lacks handles or the shot becomes too short to read.
- Use speed changes only when the source motion supports them and playback remains clean.
- Prefer a clean cut; add a transition only when it supports a real change in motion, composition, or musical structure.
This is the same safety principle behind the broader DaVinci Resolve automation decision framework: automate a repeatable operation only when its target is clear, the change is reversible, and the result can be checked.
Brief the beat edit with protected decisions
A usable instruction names the music source, editable tracks, pacing mode, protected content, permission to change duration or clip order, and the proof you expect. Without those boundaries, an editing agent has to guess which creative decisions are safe to make.
Duplicate the current Product montage v06 timeline and make the copy follow Music A. Use balanced pacing: align major scene changes and the product reveal to musical sections, use selected downbeats for ordinary cuts, and let shots breathe between them. Keep clip order, total duration, titles, and program audio unchanged. Do not add transitions or speed changes unless the existing material supports them. Review the full sequence with sound and then picture-only; report the working timeline, edited tracks, major alignments, and anything that could not be verified.
The practical CutAgent path is editor → natural-language request in the desktop app → supported local timeline operations → review in DaVinci Resolve. The agent can prepare and execute the bounded work, but the editor still decides whether the rhythm serves the piece.
Review once with sound and once without it
Play the complete sequence without stopping. With sound, check whether phrase starts, the build, drop, pauses, and ending carry the right visual weight. Then mute the music. The shot order, motion, continuity, and readability should still work as pictures.
- Remove cuts that exist only to prove marker accuracy.
- Retime action whose peak misses the intended musical point.
- Lengthen any shot, title, or product detail that cannot be understood at playback speed.
- Confirm that the original timeline remains available and protected tracks did not change.
- Check the ending after every later trim; one ripple can displace all following alignments.
If you want CutAgent to apply this workflow, download the desktop app and start with a duplicate timeline plus an explicit list of protected tracks and moments. Approve the rhythm after playback, not from the marker grid.
Sources and further reading
- DaVinci Resolve 20 New Features Guide - Blackmagic Design. Accessed August 2, 2026.
- DaVinci Resolve Edit page - Blackmagic Design. Accessed August 2, 2026.
- CutAgent product overview - CutAgent. Accessed August 2, 2026.