How to auto caption videos in DaVinci Resolve
Auto Caption can build the first subtitle track. A clean source range, isolated dialogue, and a deliberate correction pass determine whether that track is ready to deliver.
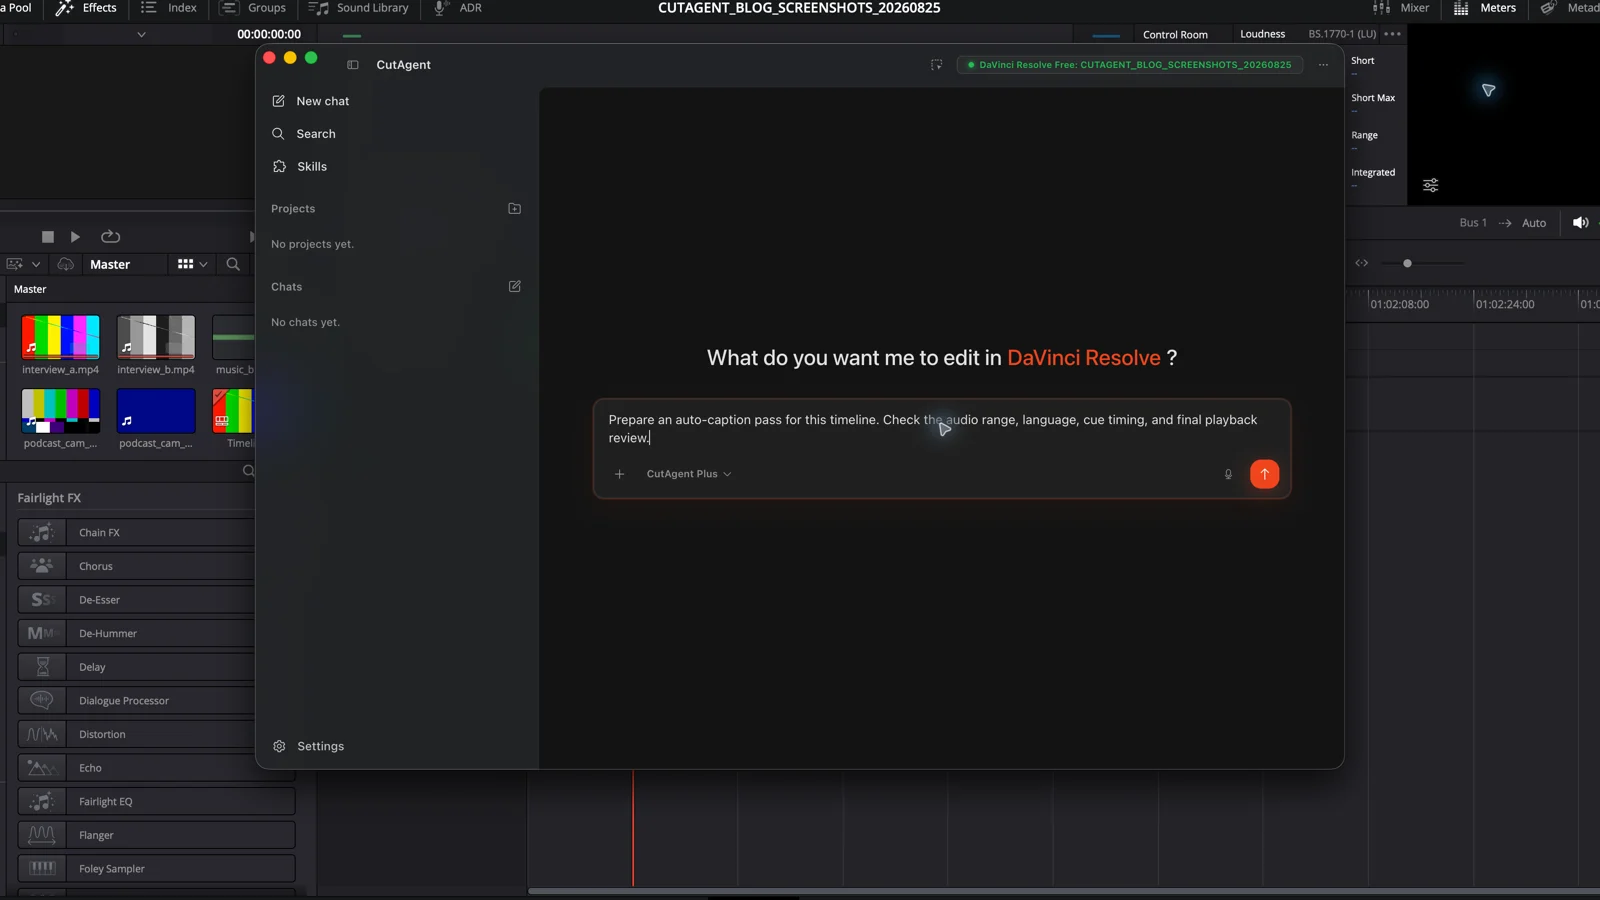
Short answer
Short answer
In DaVinci Resolve Studio, open the finished timeline on the Edit page, set an In and Out range if you only want part of the program, then choose Timeline > Create Subtitles from Audio or the Auto Caption command shown in your version. Select the spoken language, caption preset, and line-length controls, then create the subtitle track. Isolate the dialogue you want analyzed before generation, correct names and punctuation afterward, check cue timing against playback, and verify whether the Deliver page is burning captions into picture or exporting subtitle data. DaVinci Resolve Free can import a timed subtitle file, but native speech-to-caption generation is a Studio feature.
Prepare the audio that Auto Caption should hear
Generate captions after the picture edit is stable enough that cue timing will not immediately drift. Duplicate the timeline or preserve a clearly named pre-caption version, then confirm the frame rate, start timecode, language, and delivery range. Captioning the wrong timeline cleanly is still the wrong result.
Auto Caption analyzes timeline speech. Blackmagic Design's original Auto Caption feature guide warns that overlapping dialogue across audio tracks is a common failure case and recommends muting tracks that should not be part of the analysis. Before running it, mute scratch mics, duplicate channels, guide tracks, or translated dialogue that would make two versions of the same sentence compete. Keep the actual program mix unchanged by recording what you muted and restoring it after generation.
| Check | What to do | Why it matters |
|---|---|---|
| Timeline | Confirm the exact active timeline, frame rate, and current revision | The generated track belongs to that timeline and timebase |
| Range | Set In and Out for one section, or clear both marks for the full timeline | A short test reveals language and segmentation problems before a long analysis |
| Dialogue tracks | Leave the intended dialogue audible; temporarily mute duplicate or unrelated speech | Overlapping voices on separate tracks can create confused or duplicate text |
| Existing subtitles | Name, lock, or export any approved subtitle track before generating a new pass | You need to know which cue set is authoritative |
| Names and terms | Prepare a short spelling list for people, products, places, and acronyms | Automatic transcription still needs a factual correction pass |
Create the subtitle track from timeline audio
Open the target timeline on the Edit page. Set In and Out marks if you want to caption only a test or delivery range. Open the Timeline menu and choose Create Subtitles from Audio; some Blackmagic Design documentation calls the same workflow Auto Caption. If that command is absent, first confirm that you are running DaVinci Resolve Studio and that the correct timeline is active.
- Select the spoken language rather than relying on a guess when the dialog language is known.
- Choose the caption preset that is closest to the required delivery format. Styling can be corrected later; the text and timing come first.
- Set the maximum characters per line for the frame and expected reading distance. Treat it as a starting constraint, not proof that every cue will read well.
- Choose the available line-break and gap controls for your DaVinci Resolve version, then start generation.
- Wait for analysis to finish and confirm that a subtitle track with actual cues appears over the intended range.
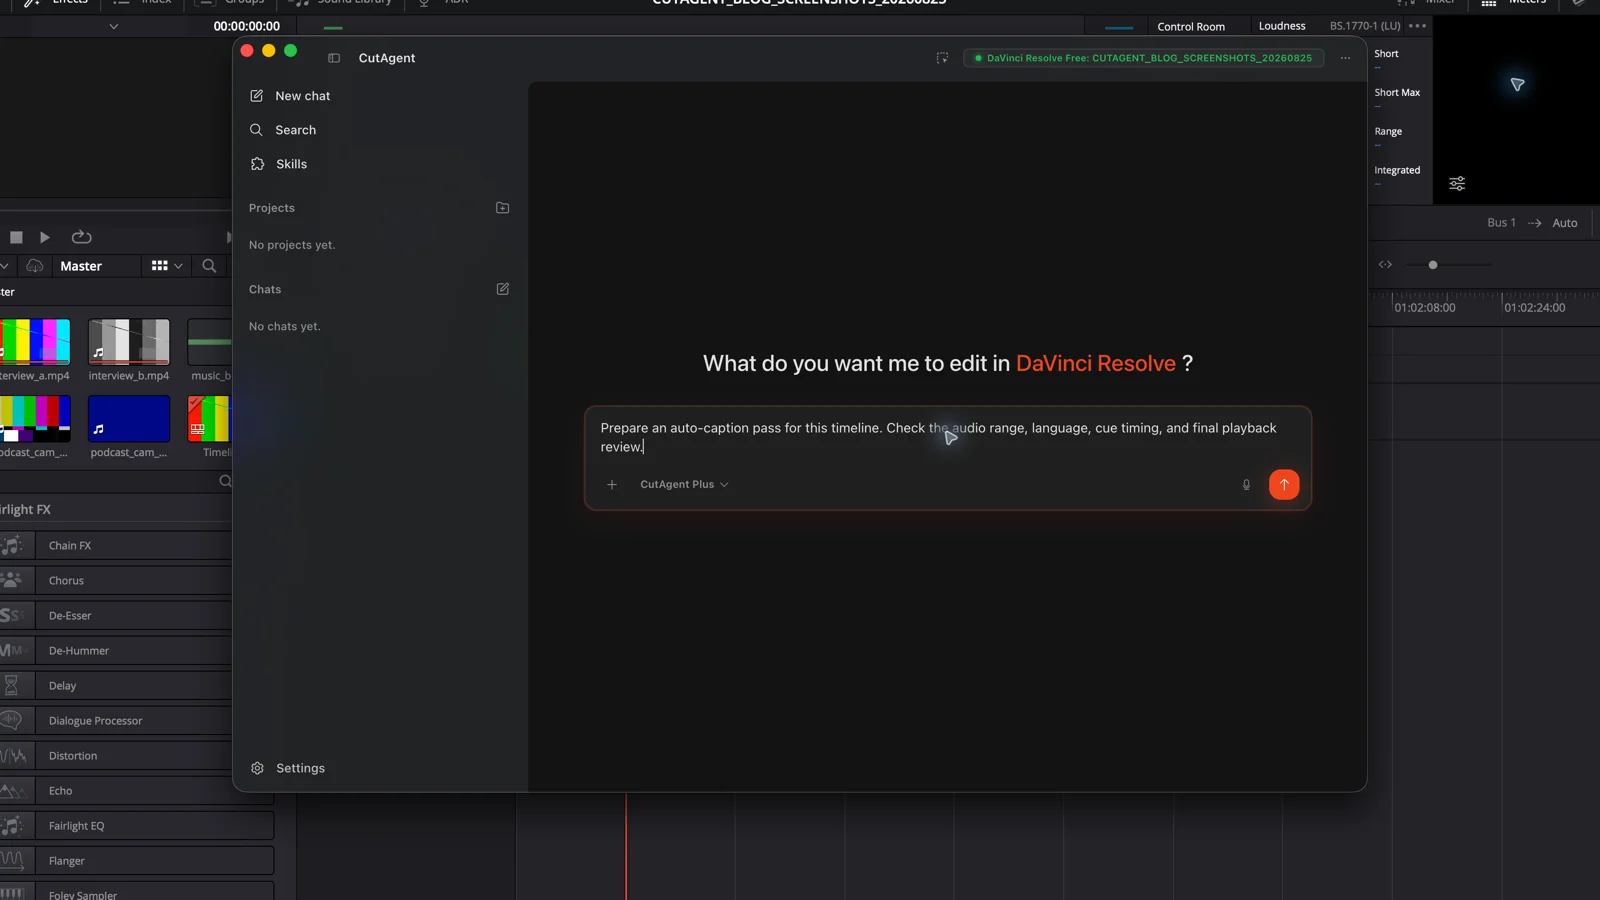
Blackmagic Design documents language, caption preset, and maximum characters per line as core Auto Caption controls. Labels and additional controls have changed across releases, so use the terms visible in your installed version rather than copying an old dialog setting blindly.
Check the first minute before captioning the whole program
Play the test range at normal speed with the subtitle track visible. Do not begin by polishing font and color. First ask whether the correct speech became the correct words at the correct time. A visually polished track built from the wrong microphone is expensive to unwind.
| Symptom | Likely cause | Next action |
|---|---|---|
| No subtitle track or no cues | The command did not run on a valid range, no usable dialogue was audible, or the Studio feature is unavailable | Confirm edition, active timeline, In/Out marks, and audible dialogue before retrying |
| Duplicate or interleaved sentences | The same speech is present on several tracks or different speakers overlap | Mute the unintended dialogue tracks and regenerate the clean test range |
| Most words are from the wrong language | The language selection is wrong or the source contains mixed languages | Select the intended language; handle genuine language changes as separate ranges when needed |
| Lines are dense or break at awkward points | Character and line-break settings do not fit the frame or delivery | Adjust the generation controls, then manually repair the exceptions |
| Text is broadly correct but proper nouns are wrong | The transcription has no reliable spelling context for those terms | Correct against the approved name list and search for every repeated occurrence |
If the source and settings are wrong, delete the test track and regenerate. If they are right and only a few cues need repair, keep the track and edit those cues. Repeatedly regenerating a nearly correct full timeline can erase useful manual fixes and create another source of truth.
Correct text first, then timing and layout
Review in passes because each pass catches a different failure. Read once for factual text: names, numbers, negation, technical terms, and punctuation that changes meaning. Then watch the cut for entrances, exits, shot changes, speaker changes, and cues that disappear before they can be read. Finish with line breaks and placement against faces, lower thirds, and platform overlays.
- Search every occurrence of a corrected name or recurring product term; one accurate cue does not fix the rest.
- Split cues at a sentence, clause, pause, or speaker boundary when the automatic break hides meaning.
- Merge fragments that flash too briefly when the combined cue remains readable.
- Listen around every overlap, interruption, and off-camera voice instead of trusting the transcript view alone.
- Check captions over the busiest and brightest frames after the track style is applied.
DaVinci Resolve 21 adds word-level timing corrections. Blackmagic Design's DaVinci Resolve 21 New Features Guide documents Update Word Timings for a selected subtitle and Synchronize Word Timings for a subtitle track. Use those commands when text is correct but the highlighted or word-timed caption has drifted. They do not replace a playback check.
Use timed subtitle import in DaVinci Resolve Free
Native speech-to-caption generation is a DaVinci Resolve Studio feature. In DaVinci Resolve Free, create or receive a timed subtitle file outside the app, import it, place it on a subtitle track, and run the same text, timing, picture, and export review. Blackmagic Design's Edit page documentation lists timed-text support including SRT, TTML, XML, and embedded MXF/IMF subtitles, plus separate SRT, TTML, and VTT export. Exact format availability can depend on the installed release and delivery context.
If the project needs animated, branded captions rather than a native subtitle track, use the separate subtitle track versus Text+ guide. That format decision should happen before you spend time correcting a cue set in the wrong system.
Verify the caption output, not only the timeline track
A correct subtitle track can still disappear at delivery. On the Deliver page, confirm whether the job should burn captions into the picture, embed them where the format permits, or export a separate subtitle file. Select the intended track and language, render a short section, and inspect the actual output in a player that can show the chosen caption format.
| Output | What to inspect | Common miss |
|---|---|---|
| Burned into video | Text, timing, safe placement, legibility, and the full frame | Captions were enabled on the timeline but not burned in for the render |
| Separate subtitle file | Filename, language, start time, cue order, line breaks, and playback against the master | The wrong track or an older cue revision was exported |
| Embedded captions | Container support, selected track, language metadata, and playback in the recipient's expected system | The export preset or player does not carry or display the chosen caption stream |
Keep the corrected subtitle track and delivered file tied to the same timeline revision. If picture changes later, regenerate or retime only after you know which edit points moved. The next useful action is a short rendered proof from the densest dialogue section, not another pass through the generation dialog.
Sources and further reading
- DaVinci Resolve 18.5 New Features Guide: Auto Caption - Blackmagic Design. Accessed August 25, 2026.
- DaVinci Resolve 21 New Features Guide - Blackmagic Design. Accessed August 25, 2026.
- DaVinci Resolve Edit page: subtitles and closed captioning - Blackmagic Design. Accessed August 25, 2026.
- DaVinci Resolve product and edition overview - Blackmagic Design. Accessed August 25, 2026.